How to Prove You Created Digital Art:
A Practical Guide for Artists
01.10.2026
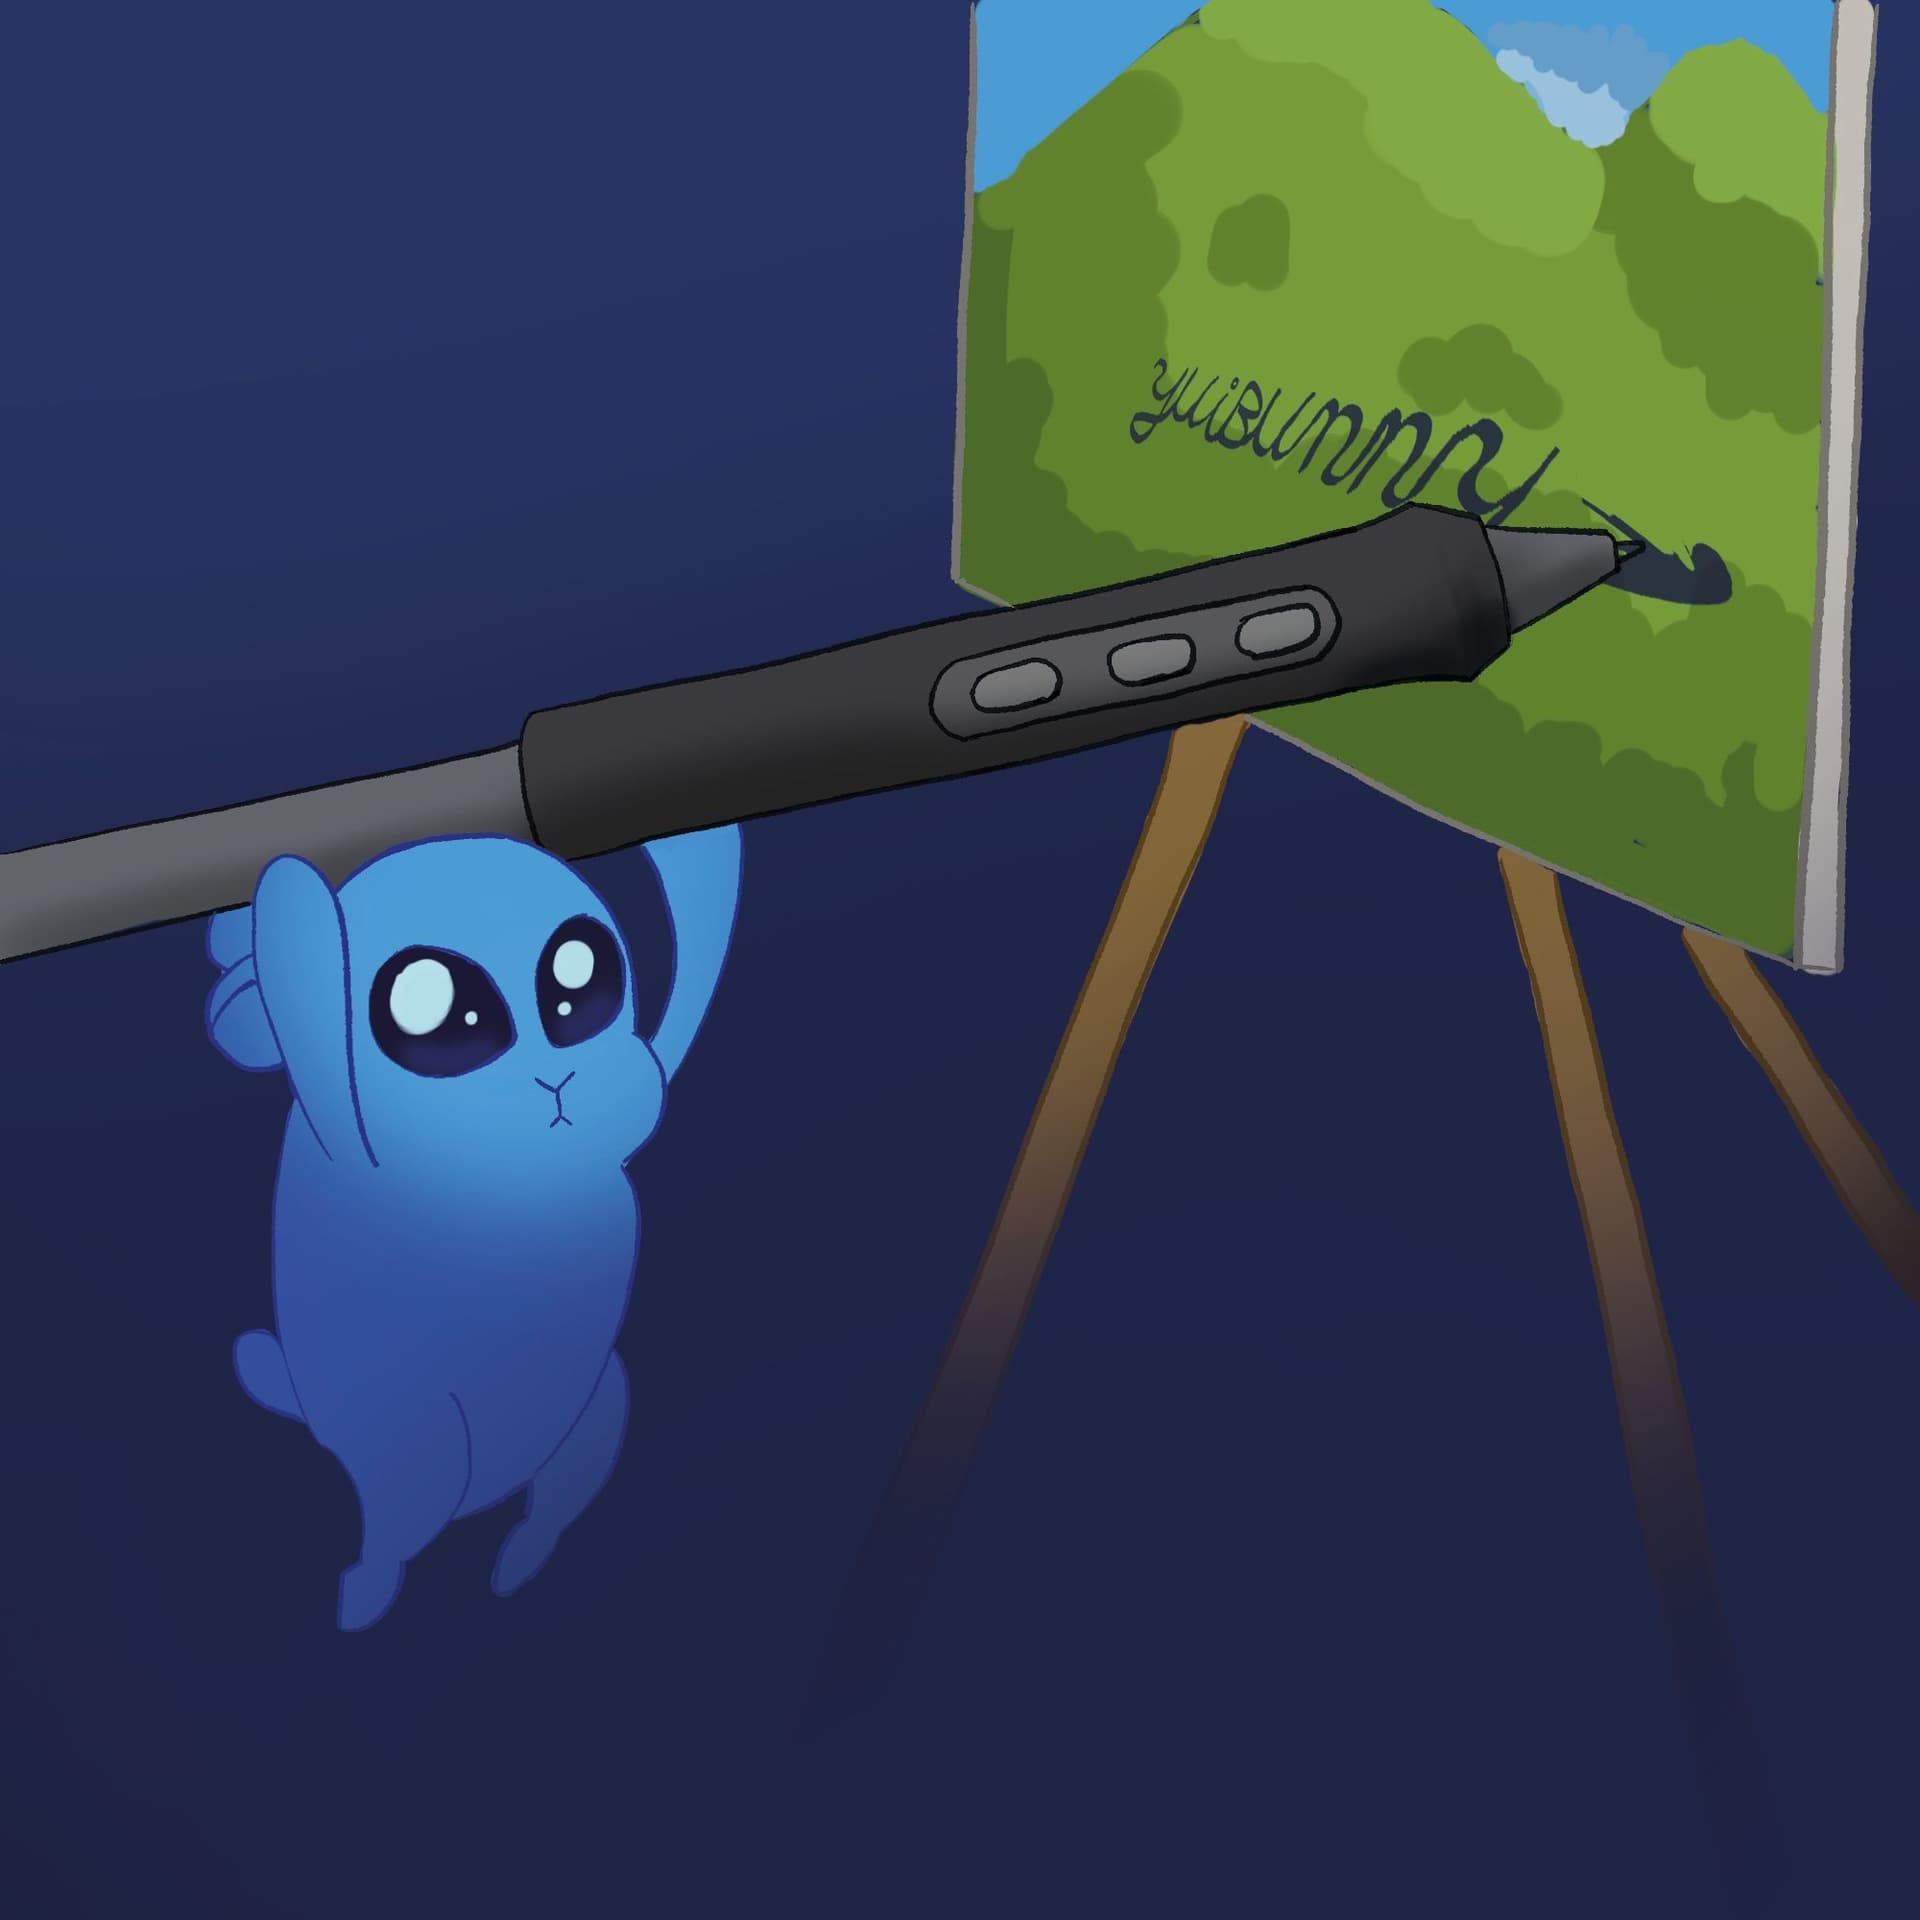
The Wacom Yuibunny
Why Do I Need to Prove I Created My Own Art?
A piece gets reposted without your name on it. Someone questions whether it's really yours. A client asks for proof before a final payment. In each case, "I made this" is a claim - not evidence. This guide is about closing that gap: what actually counts as proof, how to build it into your normal workflow, and how digital provenance for artists holds up when it's tested.
What Actually Counts as Proof You Created Digital Art?
Not everything that feels like proof actually functions as proof. Worth sorting these honestly before building a workflow around them.
Weak on their own:
- A final export with no supporting history behind it
- A social media post, since timestamps aren't designed as verifiable records and posts get deleted, edited, or reposted by others
- File metadata, since most platforms strip it automatically on upload
Genuinely useful:
- Your working file, with layers, undo history, or a version trail intact
- Documented process - checkpoints, sketches, timelapses
- Cloud version history with real timestamps
- An embedded, tamper-resistant authorship mark that travels with the exported file itself
That last one is the piece most artists don't have yet, and it's the piece that holds up best after a file leaves your hands.
How Do I Build a Workflow That Proves Authorship?
While you're working
Keep your working file. A layered .psd, or .csp is far harder to fake retroactively than a flat export. If you can, save a few checkpoints along the way - early sketch, blocked-in stage, final pass. You don't need a full recording of every session; three or four saved stages is usually enough to establish a credible timeline.
At export
This is the single most overlooked step in most artists' process, and it's where an invisible authorship mark does best. Wacom Yuify embeds a Yuify invisible micromark into your artwork the moment you export it, using Yuify Micromarker technology - no visible change to the image, and no extra step if you're already using a supported creative app.
That mark becomes part of your authorship record for digital art: a tamper-resistant authorship mark built to survive what images normally go through after publishing - reposts, crops, compression, format changes.
After you publish
Once your work is out in the world, an authorship record only helps if someone can actually check it. This is where the Yuifinder comes in - anyone can scan a Yuify-marked image to see who created it, giving you creator verification for digital art without having to reconstruct your case from scratch every time someone asks.
How Does an Authorship Record Actually Help?
It's worth being specific about what this changes in practice, rather than treating it as an abstract safeguard.
- In a dispute*, you're no longer arguing from a single claim. Ownership evidence for digital art - your working files, your process history, and your Yuify permanent authorship record together - gives you something concrete to point to.
- In your portfolio, a documented authorship trail supports your credibility with clients and collaborators who want reassurance that the work in front of them is genuinely yours.
- Over time, because the record is anchored through Yuify blockchain authorship, it stays permanent and non-mutable - your Yuify proof of authorship doesn't degrade or get quietly altered the way a social post or a file's metadata can.
None of this claims to stop someone from copying your work. Nothing honestly can. What it changes is what happens after copying occurs - whether you have something real to stand on, or just a claim.
The Actual Proofing Process
Step 1 – Document your creative process (the human part)
No tool replaces the value of showing how you created the work. Invisible authorship works best when combined with good process documentation.
Keep and organize:
- Working files with layers - Photoshop .psd-s, Clip Studio Paint files, projects, etc. Layered files are very hard to fake and clearly show your process.
- Sketches and drafts - Early compositions, rejected variants, and corrections. These show how the piece evolved.
- Timelapses or screen recordings - Many apps can record your drawing or modeling session. Even partial recordings help.
- Version history - Cloud saves, autosaves, and revision history in your software. Do not overwrite everything; keep key milestones.
Step 2 – Use Yuify when you export (the Yuifying process)
This is where “Yuifying” turns your normal workflow into a proof‑building habit.
2.1 Set up your Yuify account
- Go to yuify.com and create a Wacom ID if you do not have one.
- Fill in your creator profile: name or alias, email, portfolio link, and a short bio.
- Log in to the Yuify web app at app.yuify.com.
Your profile becomes the “owner record” that Micromark points to.
2.2 Connect your creative application
In the Yuify web app:
- Go to Settings → Connected applications.
- Connect at least one supported app, such as: Adobe Photoshop; Clip Studio Paint; Rebelle; ibisPaint / ibisPaint X / ibisPaint Edu
- Follow the on‑screen steps to install or enable the Yuify plugin or export feature.
2.3 Yuify your artwork (step‑by‑step)
When your artwork is ready:
- In your app, choose Yuify export (for example, “Export with Yuify” or the Yuify button in ibisPaint)
- Confirm or edit: artwork title, creator info (your Yuify profile), a short description (optional).
- Export as PNG (and JPEG where supported).
Yuify then: embeds a Wacom Yuify invisible micromark into the exported file, creates a permanent authorship record tied to your Yuify profile and stores a timestamped event that links the file to you as the creator. You now have a file that carries both visual content and authorship data.
2.4 Verify your Yuified file with Yuifinder
- Go to the Yuify platform and open Yuifinder.
- Drag and drop your exported image. - Yuifinder reads the Micromark and shows: the registered creator, artwork title and description, creation/registration timestamp.
- Do this for a few key works so you know how the verification looks. This also helps you explain Yuify to clients and collaborators.
Step 3 – Build a complete authorship dossier
Yuify is powerful, but it works best as part of a broader evidence set. Think of your “authorship dossier” as a proof folder for each important piece.
Include: Final Yuify‑exported file (with Wacom Yuify invisible Micromark); Working files (layers, drafts, sketches); Timelapse or screen recording if you have one; Yuify record screenshot showing creator info and timestamp; Publication history (links to portfolio, social posts, marketplaces); Authorship statement describing how you created the work and any AI tools used;
Store this dossier in at least two places (for example, local drive plus cloud backup).
Step 4 – Use Yuify for ongoing authorship habits
Instead of treating authorship proof as a one‑off task, make Yuify part of your routine.
4.1 When to Yuify
Use Yuify export for:
- Your best or most commercial works.
- Pieces you plan to publish widely.
- Works you submit to contests, portfolios, or clients.
- Commissioned work where you want clear authorship.
You do not need to Micromark every sketch, but you should cover anything that matters to your income or reputation.
4.2 How often to create records
A simple rhythm:
- For active projects: create a Yuify export every 1–4 weeks and tag versions (v1, v2, v3).
- At major milestones: first draft, near‑final, final.
- Before sharing with clients, collaborators, or agents.
- At publication: export the version that goes live with Yuify.
My Final Yuitake
Yuify Meshmarker isn't just "Yuify, but for 3D." It's the start of a bigger authorship story — one built to answer a real creative problem: how do you prove a 3D model is yours, especially after it has moved through real production workflows?
By combining invisible marking, identity verification, provenance, and a creator-first approach, Wacom is building something genuinely useful for artists. Not flashy. Not gimmicky. Just practical, protective, and quietly powerful.
That's all for now, creative crew!
Yuibunny's off to nibble some pixels and guard the blockchain burrow.
Stay micromarked, and I'll see you in the next post!
For more stories about digital authorship, art, and creative technology, keep exploring the Yuify blog.
*Disclaimer - The information provided above is intended for general informational purposes only and does not constitute legal advice, legal justification, or verified legal proof of ownership.
Summary
Proving you created a piece of digital art takes more than a claim - it takes evidence. This guide walks through the real evidence types artists can rely on, a practical workflow to build proof as you work, and how a lasting authorship record for digital art actually helps when your work is questioned, copied, or shared without credit.